Your PC probably cost you a fair bit of money and time — especially if you built it yourself. Given that investment, you’ll want to keep it in top shape. To do that, you’ll need to know how to clean a PC.
Cleaning a PC is relatively quick and easy once you know how to do it. Here’s a step-by-step guide to teach you how.
1. Gather the Right Supplies
The first step in cleaning a PC is getting all the necessary supplies together. You’ll need:
- A soft cloth
- A can of compressed air
- Cotton balls or swabs
- Rubbing alcohol
You’ll also want any tools required to open your PC, which vary depending on your case. Anti-static wristbands and screen wipes can be helpful, too, but aren’t strictly necessary. You can forgo specialty-made PC cleaning solutions, as these are usually just diluted alcohol, which you can make yourself.
2. Turn Off and Disconnect Everything
Once you have all your cleaning supplies, turn your computer off. Unplug the power cable and disconnect any peripherals like your keyboard, mouse, screen and speakers.
It’s also best to let everything rest for a few minutes after disconnecting to allow any lingering electricity to discharge. This isn’t necessary for a quick dusting but is a good idea before any deep internal cleaning.
3. Wipe Off the Exterior
Next, take your cloth, make sure it’s dry and wipe everything down. You don’t have to apply much force here. The idea is just to clear the initial layer of dust off the surface.
After wiping everything with the dry cloth, dampen it slightly. It shouldn’t be wet, but you want it moist enough to pick up any remaining dust. Go over all the surfaces again to clear the rest of the grime.
4. Clean the Keyboard
The next step in how to clean a PC is tackling the keyboard. You can buy keyboard-cleaning gels that speed up the process, but these can leave residue on your keys, so use them carefully. Otherwise, give your compressed air a few short bursts between the keys to drive dust out.
Avoid spraying air for more than a couple of seconds at a time. If you hold it down too long, it may expel its cooling solution, which you don’t want. After spraying the dust away, dampen a cotton ball or swab with rubbing alcohol and rub your keyboard down. If your keys are particularly grimy, consider popping them off to get under them.
5. Clean the Mouse
Cleaning your mouse is a similar process but easier because there are fewer nooks and crannies for dust to gather. Spray any remaining dust off and wipe it down with alcohol and cotton. Be extra gentle with the optical sensor at the bottom to avoid damaging it.
6. Wipe Down the Monitor
Now it’s time to clean your monitor. If your screen isn’t too dirty, you may get away with simply dusting it with compressed air and wiping it down with a damp cloth. If there are more serious smudges, you’ll need more effort.
First, try using your damp rag with a little more pressure, moving it in small circular motions. If that doesn’t work, use an alcohol-free and ammonia-free cleaner or screen-cleaning wipe. Never use Windex or similar glass cleaners, as these can permanently damage LCD and OLED screens, and never spray liquid directly onto the surface.
8. Dust the Inside
At this point, the outside of your computer should be squeaky clean. If you want to maximize your performance, though, you’ll also need to clean the inside. Start by carefully opening your case, which may require a screwdriver or Allen wrench. Set any removed parts aside on a clean, soft towel to prevent scratching.
If you have an anti-static wristband, attach it. If not, touch something metal outside your PC now and then to discharge any static buildup.
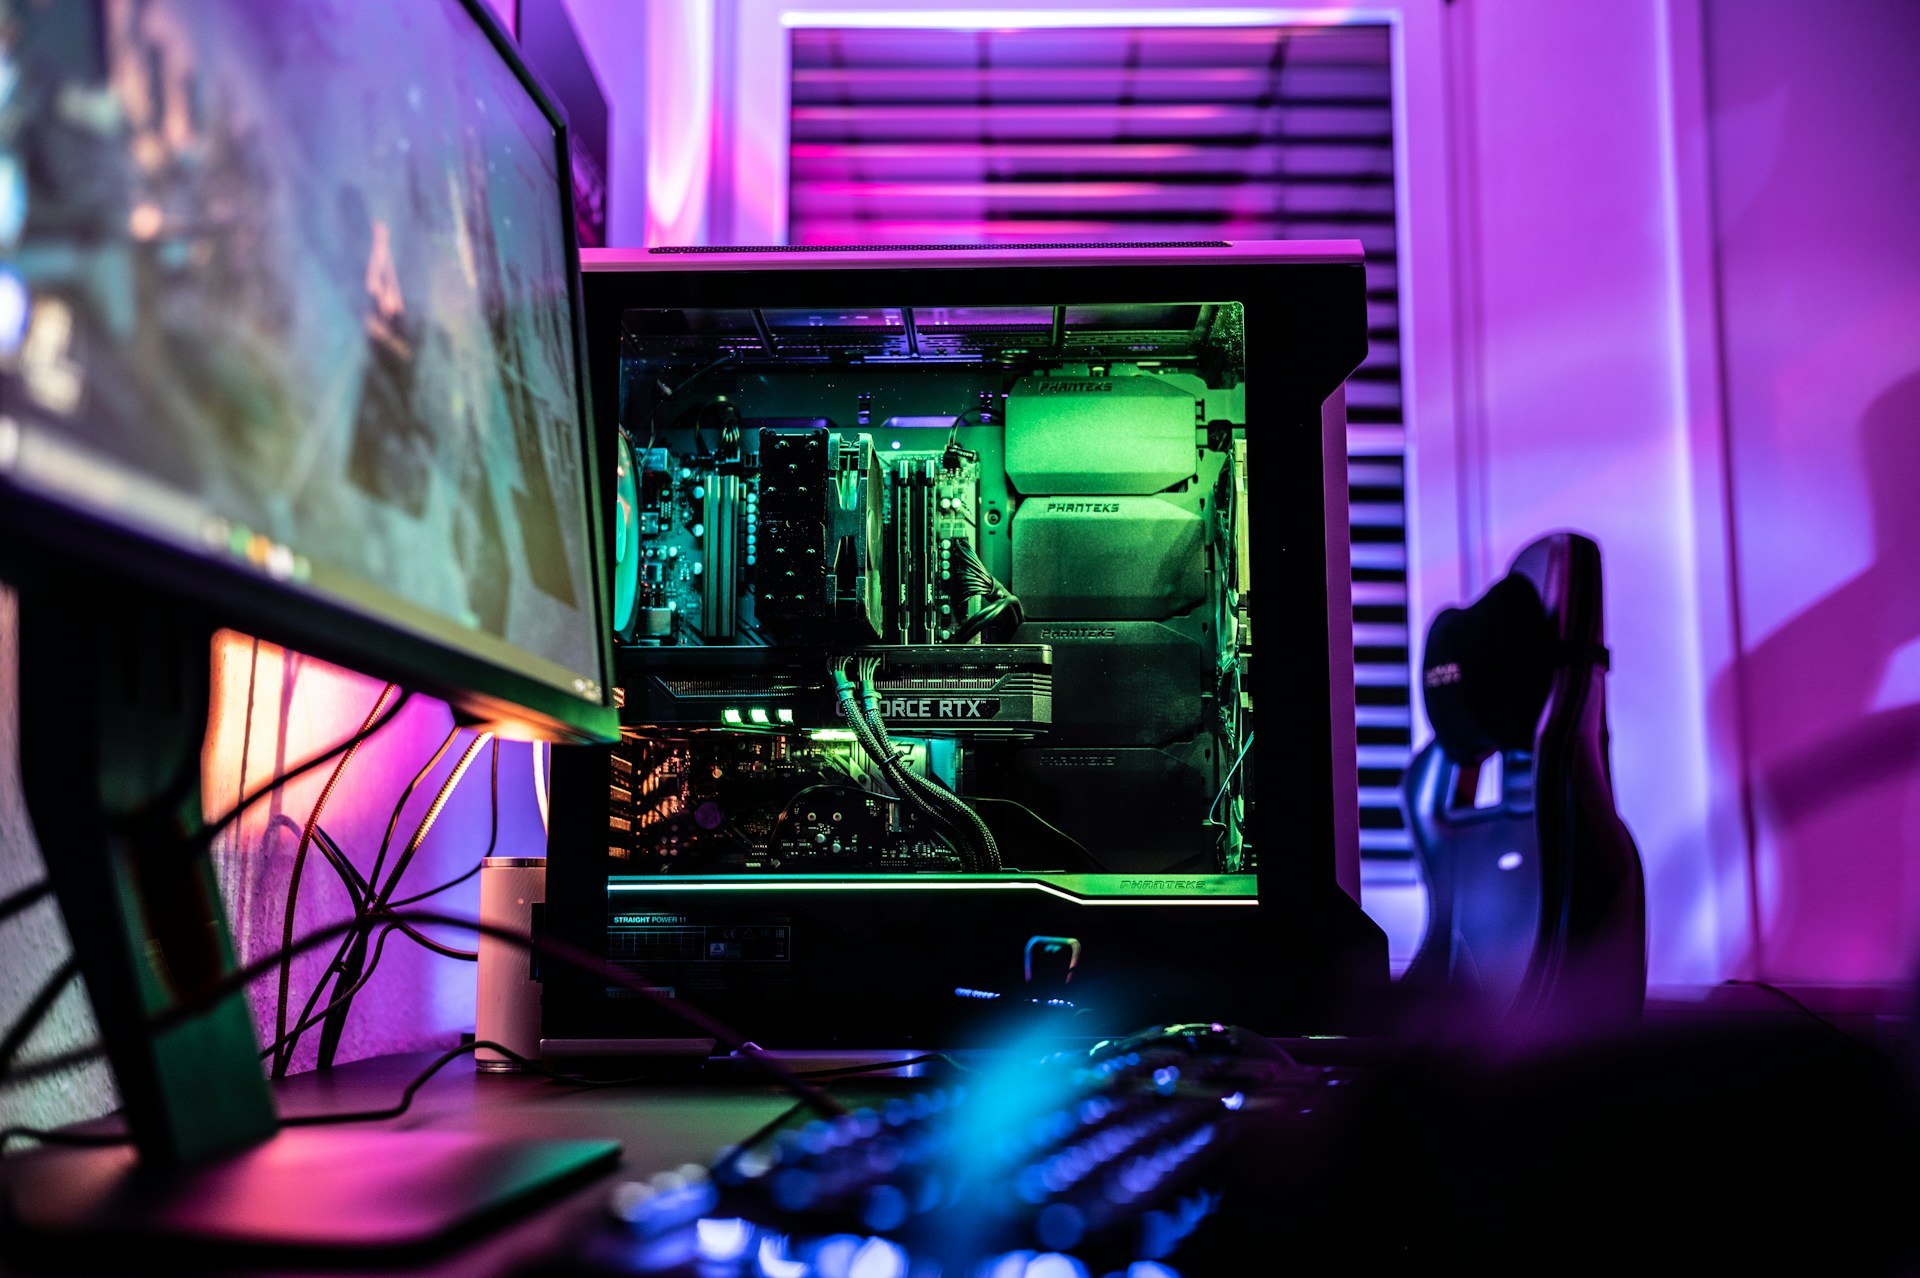
Take your compressed air and clear the dust inside your PC with short bursts. Be sure to pay extra attention to any fans, filters, heat sinks and other areas where dust may accumulate. If the air isn’t enough to clean everything, use cotton and alcohol to wipe them down, but avoid getting anything wet.
9. Disconnect and Clean Individual Components
Most of the time, the previous steps are enough to clean your PC. However, if you noticed a thick layer of dust on the last step, you should consider disconnecting some parts for more thorough cleaning.
Carefully remove your GPU, CPU and their accompanying cooling systems. The rest of your components are okay to leave in place. Spray everything down from all sides with compressed air and use cotton and alcohol to clean the rest if necessary. Be sure to clean any areas you can’t reach with these parts attached.
10. Put It All Back Together
Now your PC is clean. If you removed any components, put them back in and close your case. This process is the same as building your own PC, so you may already be familiar with how to do it.
Once everything’s back in place, consider how you can keep it clean. Magnetic dust filters over your case’s exhaust vents go a long way. You should also regularly clean the area around your PC to prevent dust buildup.
Why Should You Clean Your PC?
Cleaning your PC is important because dust buildup can lead to overheating. Even if your temperatures remain safe, grime can restrict airflow and clog fans, causing your performance to drop. Consequently, learning how to clean a PC is an important step in keeping it running smoothly.
How Often Should You Clean Your PC?
You should dust your PC and all its components at least once every six months. If your workspace gets dusty quickly, consider cleaning it once every three months.
Deep cleanings can be less frequent, but it’s best to perform one once or twice a year. That way, you prevent serious dirt buildup that could affect your PC’s performance and safety.
Clean Your PC the Right Way
Now that you know how to clean a PC, you can make the most of your computer. Whether you’ve built it yourself or bought a pre-built model, regular cleaning keeps it in top condition for longer. If you want to avoid costly repairs or, worse, having to buy a new computer, follow these steps regularly.
Recent Stories
Follow Us On
Get the latest tech stories and news in seconds!
Sign up for our newsletter below to receive updates about technology trends

