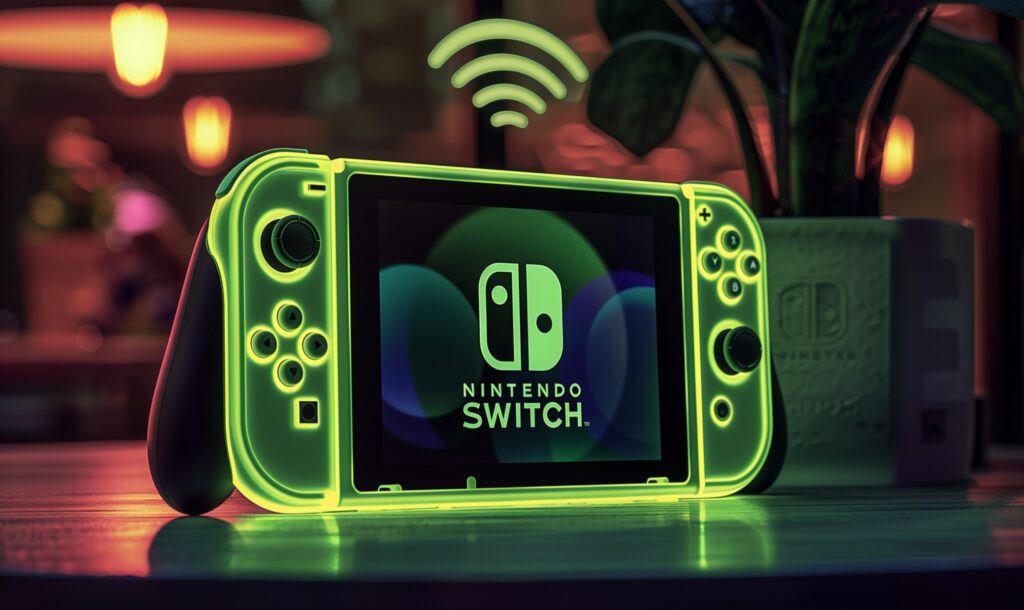
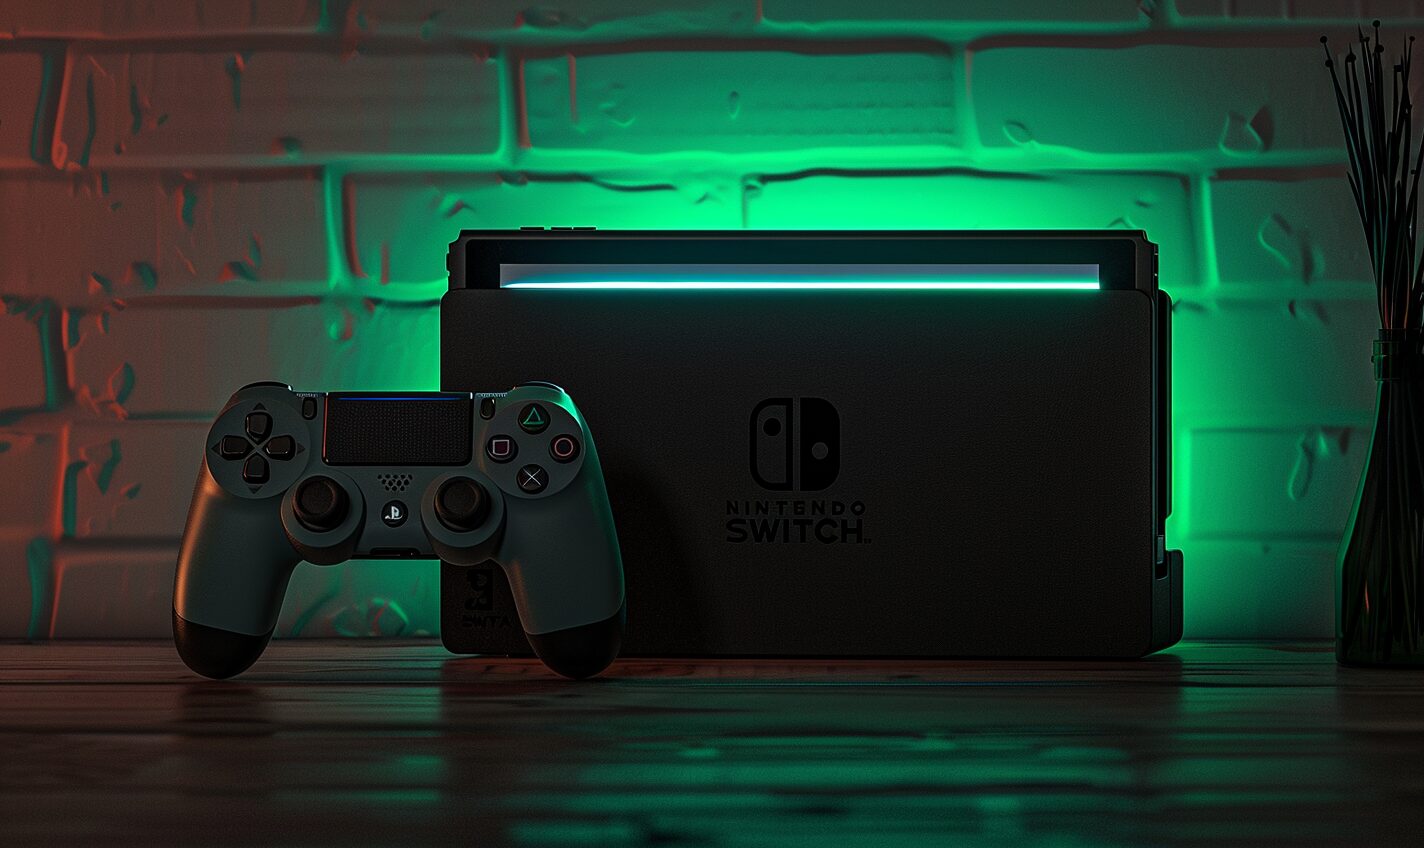
Are you a Nintendo Switch enthusiast passionate about sharing your gaming adventures? If so, you’ve probably considered the importance of capturing and sharing your gameplay moments. That is where a Nintendo Switch capture card comes into play.
This nifty device is your getaway to recording, streaming and sharing your gaming escapades in stunning detail. But with many options on the market, choosing the right one can take time and effort.
Understanding Nintendo Switch Capture Card
It’s crucial to understand what capture cards are and how they work. A capture card is a device that enables you to record or stream gameplay from your Nintendo Switch to your computer. It bridges the gap between your console and your content creation tool.
These devices come in various shapes and sizes and can offer multiple features. The primary function, however, remains consistent – capturing your gameplay footage. You can create high-quality videos, live streams or even share clips with your friends and followers.
For Nintendo Switch owners, this is a game changer. It allows you to preserve those remarkable in-game moments, showcase your gaming skills and interact with your audience in real-time. It is essential for creating Let’s Play videos, highlighting your in-game achievements or connecting with the gaming community.
Types of Capture Cards
Nintendo Switch capture cards come in various types, each with its own set of features and use cases. Here are the primary types:
- External USB: Easy to set up, portable and doesn’t require computer opening. These are plug-and-play devices. Ideal for gamers and content creators who want a straightforward way to capture and stream gameplay. Popular for consoles like the Nintendo Switch.
- Internal PCIe: Typically offers low latency and more advanced features than external cards. Use cases suitable for gamers and streamers who want to record and stream high-quality gameplay on a dedicated gaming PC. They require opening your computer to install.
- Network: These are designed to capture gameplay over a network. It helps capture content from multiple sources simultaneously. It is often used by professional broadcasters who need to capture content from various computers or consoles.
- External Thunderbolt: Thunderbolt connections offer high data transfer rates and low latency, making them suitable for high-quality capture and streaming. Commonly used in Mac computers or high-end PCs for professional content creation.
- Internal 4k with hardware encoders: Specifically designed for capturing and streaming in 4k resolution, delivering exceptional video quality. Gamers and content creators looking to capture gameplay in stunning 4k detail.
- PCIe with hardware encoders: These cards come with built-in hardware encoders, reducing the strain on your computer’s CPU and allowing for smoother recording and streaming. Suitable for users who need efficient video encoding, often used in professional broadcasting setups.
- Portable with SD card recording. These devices offer the convenience of recording directly to an SD card without a computer, making them highly portable. Ideal for on-the-go content creators who want to record gameplay without a dedicated PC.
Popular Nintendo Switch Capture Cards on the Market
Here are some capture cards that offer a range of features and one of them might be the perfect fit for your gaming setup:
- Elegato Game Capture HD60S: Elegato is well-known in this arena. And the HD60 S is a reliable choice. It offers excellent video quality with 1080p at 60 frames recording and ultra-low latency. It’s a USB-powered device, making it easy to use with your Nintendo Switch and PC.
- AVerMedia Live Gamer Portable Two Plus: The AVerMedia is known for its portability and ease of use. It records gameplay at 1080p60 and its PC-free mode lets you record to an SD card without needing a computer.
- Razer RipsawHD: Razer brings its gaming experts to the market with the Ripsaw HD. This card supports 1080p60 capture boasts a USB 3.0 connection and is compatible with various streaming platforms. It also includes a 3.5mm audio input, handy for adding commentary to your streams.
- AVerMedia Live Gamer Mini: If you’re on a budget, the Live Gamer mini is a compact, cost-effective choice. It offers 1080p30 recording and easy plug-and-play functionality. While it may not have all the advanced features of pricier options, it’s a great entry-level card.
- Elgato game Capture 4k60 S+: The 4k60 S+ from Elgato is a premium choice for those seeking top-tier performance. It can capture gameplay in stunning 4K60 quality and offers the flexibility of standalone recording to an SD card. It’s ideal for serious content creators.
Key Factors to Consider
Imagine your friends gathering in your living room or your favorite hangout spot. With the right capture card, you can connect your consoles to a central hub like your gaming PC and display all the actions on a large screen.
Now, you’re not just playing multiple games together—you’re streaming your gaming sessions or simply having a blast while recording your memories. Here are the key factors to consider when choosing the best one for your gaming setup:
- Video quality: One of the primary factors to consider is the video quality it can deliver. Look for capture cards that support 1080p or 4k resolutions to showcase your gaming adventures in crystal clear detail. High-quality video is essential, especially if you share your content with a demanding audience.
- Compatibility: Ensure it is compatible with your Nintendo Switch model and computer. Some are designed for specific platforms, so double-check to avoid compatibility issues.
- Latency: Low latency is crucial, especially if you plan to livestream your gameplay. The minimal delay between actions and what viers see on the stream is essential for a smooth and enjoyable experience. Look for ones with low latency to keep your audience engaged.
- Connectivity and features: Consider the connectivity options the it offers. USD or PCIe, for example, can have different advantages and your choice should align with your setup. Additionally, take note of features like built-in streaming software, customizable overlays and multi-streaming support, which can enhance your content creation capabilities.
- Budget: They come in various prices, so establish your budget before shopping. Don’t fret: There are options available for multiple budget ranges. Even if you’re on a tight budget, you can find cards that deliver excellent value for your money.
Nintendo Switch Moments
Whether you aim to share your most epic Nintendo Switch moments with the world or become a professional streamer, the capture card you select will play a crucial role. It’s not just a tool—it is your creative canvas.
So take your time, weigh your options and select the card that fits seamlessly into your gaming world. With the right choice, you’ll be ready to level up your gaming and share your adventures with fellow gamers around the globe.
Recent Stories
Follow Us On
Get the latest tech stories and news in seconds!
Sign up for our newsletter below to receive updates about technology trends


