It’s easy to get lost in fun, immersive games, especially with how busy your schedule can get. Try searching for “how to clean controller” on your mobile or desktop. Did it pop out on your history? If not, it’s time to whip out the cleaning materials and disinfect your peripheral.
Cleaning your controller should be on any serious gamer’s checklist, especially since it’s the device you’ll be holding for long gaming sessions. Like any equipment, it can and will get dirty with continued use. Failing to maintain your controller can lead to grimy surfaces — a dirty controller is a hotspot for nasty bacteria and diseases if left unchecked.
Bacterial buildup on gaming controllers and devices is the real deal. Gaming controllers can carry as much as double the bacteria commonly found on toilet seats. That fact has “yuck” written all over it. If the idea of nasty germs and bacteria on your beloved gaming controllers puts you off, it’s time to break out the cleaning materials and get to work.
What You Need
- Alcohol wipes
- Microfiber cloth
- Mild soap
- Paper towels
- Toothpicks
- Q-tips
- Canned air
- Soft-bristled brush
How to Clean Controller: A Step-by-Step Guide
Cleaning your controller can sound like a chore, but it’s a part of gaming. Whether you play on consoles, PC or handheld, cleaning your controller is a way to ensure it’s working correctly so you can enjoy it for a long time.
Here’s the step-by-step guide on how to clean your controller:
1. Unplug your controller and remove the batteries if it’s wireless.
The first step to any successful controller maintenance routine is to avoid breaking components. Gaming controllers are designed for rugged use but can be prone to breakage if left in careless hands.
Unplug your controller before starting any cleaning regimen. Remove the batteries before wiping anything down if you have a wireless controller. Excess moisture can mess with your controller’s circuits, especially if left on.
2. Use paper towels to catch dirt and other debris from cleaning.
After unplugging your controller or removing its batteries, it’s time to prepare your work surface. Lay paper towels on a table to catch dirt and other particles during cleaning. This will also ensure you have a tidy surface after the cleaning process.
3. Use a toothpick to remove stubborn dirt from hard-to-reach areas.
Controllers typically have nooks and crannies where dirt can accumulate. Controllers are subject to oils, sweat and other particles during their life span. If you’re a fan of snacking while gaming, saliva and food crumbs will also make their way into areas you might probably think are impossible.
Use toothpicks to get dirt and other particles from those crevices. This step will allow you to do a deep clean on your controller. Some crumbs will be hard to get, so be patient and keep poking and running the tip of your toothpick between grooves. Use the Q-tips to wipe sloping surfaces or tight spots for a better clean.
Change toothpicks and Q-tips as often as needed. You can also take this step a notch by using a dry, soft-bristled brush to clean the surfaces and crevices of your controller.
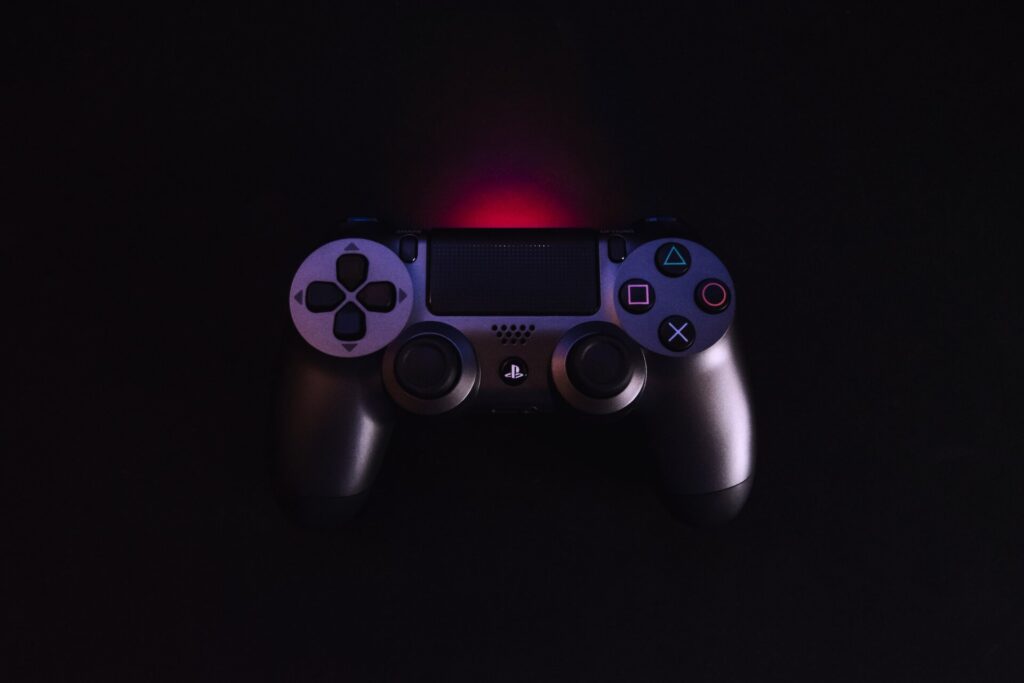
4. Use canned air to blow out the remaining particles in crevices.
Give your controller a good spray using canned air. This will help you take out stragglers hiding in unseen places. If you diligently scraped and cleaned your controller with your toothpick, you would have loosened most leftover dirt using canned air by now.
Remember to use the can right side up to avoid spraying your controller with liquid. You want to clean your controller with air, not blast it with moisture.
5. Wipe your controller’s surface with alcohol wipes or a lint-free microfiber cloth with mild soap.
Alcohol wipes will be your friend when it comes to the disinfection stage. Clean every surface of your controller with alcohol wipes. Run the wipes across the buttons, shoulder triggers, joystick and grips to clear any remaining bacteria, oils, sweat, food particles and even saliva.
You can even go as far as touching up the battery terminals, but be mindful. Make sure your alcohol wipes are damp and not dripping with liquid, as it can mess up the circuits in your controller.
If you find yourself without alcohol wipes, use a lint-free cloth — preferably microfiber — and use mild soap and water to dampen it. Again, make sure the fabric is damp and not dripping with liquid before you wipe anything.
6. Dry everything before plugging in or loading batteries.
You’re almost done. Now, all you need to do is dry everything and you’re ready to start gaming. Use a fresh microfiber cloth to dry every surface on your controller. Wipe the grips, buttons, joystick and shoulder triggers. Make sure you give the buttons a few taps to see if they’re working properly mechanically.
Wipe the battery contacts and check for any left moisture in the compartment. Set your controller down and let it air dry for at least 10 minutes. Plug in your controller or put the batteries back in and you’re all set.
Why Cleaning Your Controller is Important
You have the best gaming platform for your gaming style and needs. You’ve purchased the best gaming monitor or TV with crisp visuals, the highest resolution and envy-worthy frame rates on the market. You’ve even bought that high-end gaming controller you’ve spent weeks researching to complete your gaming setup.
It sounds like a gamer’s paradise, but after months of playing your favorite games, you completely forget to clean your console and peripherals. It should come as no surprise that your controller is acting funny and your console is heating up even after just a few hours.
Device maintenance is vital for these reasons:
- A clean controller will work properly for longer.
- A dirty controller can be a breeding ground for bacteria and viruses, especially if you play with others.
- Cleaning a controller will remove the sticky feeling after long gaming sessions.
- Clean controllers will remain to look new with regular maintenance.
Device Maintenance is a Gamer’s Responsibility
Maintaining your gear should be on your priority list, whether you’re a casual or serious gamer. Valuing your investment in gaming gear will reward you in the long run. It can be challenging initially, but you’ll get used to it with enough practice.
Recent Stories
Follow Us On
Get the latest tech stories and news in seconds!
Sign up for our newsletter below to receive updates about technology trends

