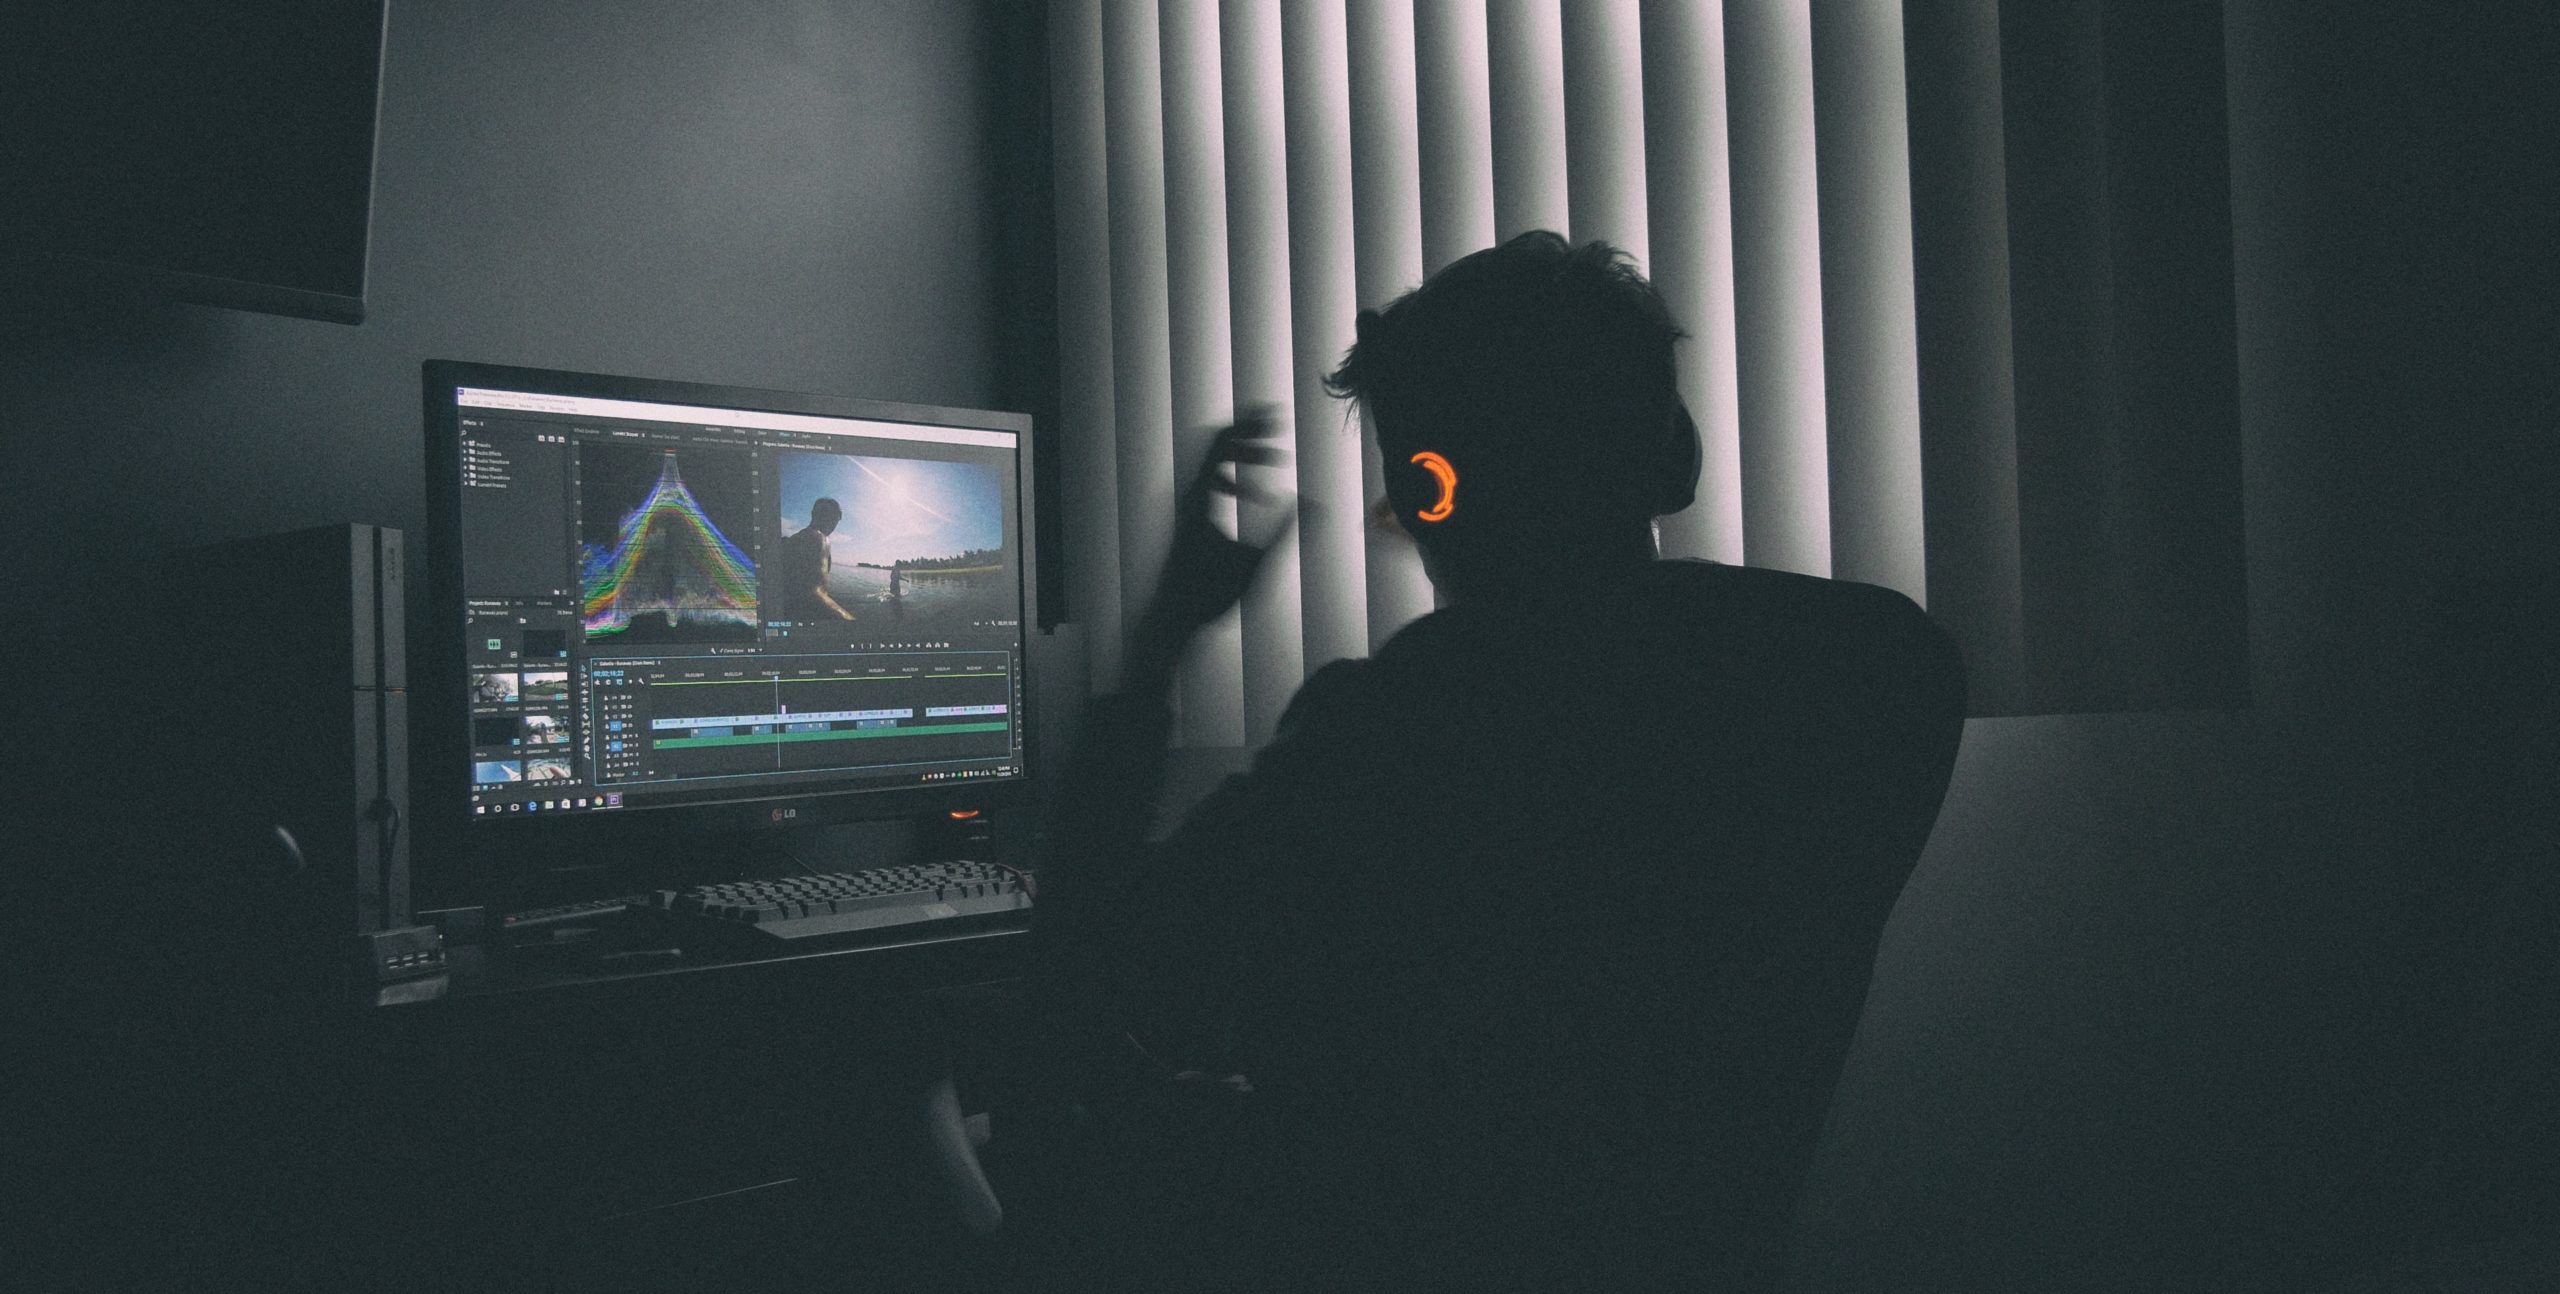
With life being so busy, we always want to do things faster and more efficiently. For video editing, Adobe Premiere has a bunch of great ways to do just that. These tips and tricks will have you editing faster in Premiere in no time at all.
Assign Custom Keyboard Shortcuts
This is probably the most crucial way to edit faster in Premiere. Their visual keyboard GUI makes it easy to see which keys have already been assigned and which are available. Keeping the default shortcuts is always an option, but if you have specific things you’re using the program for, adding your own can help you do your usual tasks a lot faster.
Another good feature is that the keys can be used for both application-wide tasks and panel-specific ones. So your keys can provide multiple ways to edit faster in Premiere. There’s no right or wrong setup, it’s all about your needs and what you’re going to use the most.
Take Advantage of Great Built-In Features
Premiere is filled with nifty features — you just have to learn how to use them. The swap clips feature is good if you’re moving a lot of clips around and want to make sure they flow smoothly, without any space in between. If you’re making a montage of some sort, this is going to save you a lot of headaches.
You can also select multiple clips at a time if you want to do something to all of them. Try grouping a set of clips together so you can easily move them around as a unit and won’t have to deal with them one at a time.
Live trimming lets you edit things without having to stop playback. This is a great way to keep things quick and running smoothly while you’re making your edits. It’s sometimes hard to watch playback and remember all the changes you want to make. With this feature, you can make the edits when it feels right, so you can let your instincts take over.
Disable Instead of Delete
Instead of deleting video or audio clips you don’t think you’ll need anymore, use the Shift + E keys to disable them instead. It’s a quick way to get rid of things you don’t want in that section, but it doesn’t delete them entirely in case you decide you want them later. If you’re using multiple cameras for something, this lets you choose the best shots and allows you to make sure instead of deleting all of your other footage.
Use Adjustment Layers
This is the best way for you to apply effects to multiple clips at once. The adjustment layer is a specialty layer that is positioned above other video tracks and allows everything underneath it to have that effect applied. You can adjust it so it’s only covering the clips you want it to cover. It’s a lot easier to manage than applying the effect to every single video clip you want it to be on.
Change Your Playback Resolution
One of the easiest ways to slow Adobe Premiere down is by having it try to play back extremely high-quality video. Lower your resolution so the program can use all its power for editing instead of trying to play the video. You’ll also want to turn off high-quality playback to make sure you aren’t dropping frames due to that feature, either.
Using these options doesn’t lower the exporting resolution, so you don’t have to worry about the playback quality being poor on your finished product. This is just a way to make editing easier, quicker and smoother.
Adobe Premiere has so many features and tricks you can use to edit faster. Start using them today and get your video projects completed in no time!
Recent Stories
Follow Us On
Get the latest tech stories and news in seconds!
Sign up for our newsletter below to receive updates about technology trends


