Laptops need maintenance from time to time. Cleaning, updating their software and restarting them can keep them working smoothly throughout their life. There could be a time when you need to factory reset your computer to get it working correctly.
Chromebooks are convenient notebooks that you can take almost anywhere. However, when they experience a fatal error, you’ll need to know how to do the factory reset. Here’s your step-by-step guide on how to factory reset a Chromebook.
Why a Factory Reset?
Before we get into the steps of resetting your Chromebook, you may wonder what situations lead to such a drastic measure. There are a handful of cases where you’d want to do a factory reset.
- Your Computer Tells You to Reset It – Chromebook profiles sometimes experience fatal errors that make it necessary for you to do the reset. A message will appear on your Chromebook telling you it needs to.
- You’re at Your Last Option – If your Chromebook has been glitching and you’ve tried the other fixes, it’s probably time to reset.
- Your User Settings or Profile is Problematic – If your settings or profile gets corrupted or stops functioning, it’s best to do a factory reset.
- You’re Transferring Ownership – If you’re selling or gifting your Chromebook to someone else, it’s best to reset it so your information is off of it and the new user has plenty of room for their programs and documents.
You can always try a factory reset when your computer has problems, but remember that more straightforward solutions sometimes solve the problem.
How to Preserve Your Files
Having to factory reset a device used to be a death sentence for all the hard work you had stored on it. The good news is some programs allow you to save most or all of your files.
For Google, you can preserve your documents and projects through the cloud storage attached to your profile, such as Google Docs and Google Drive. You can then retrieve them once the reset is complete. You can also use your account to sync your information and settings.
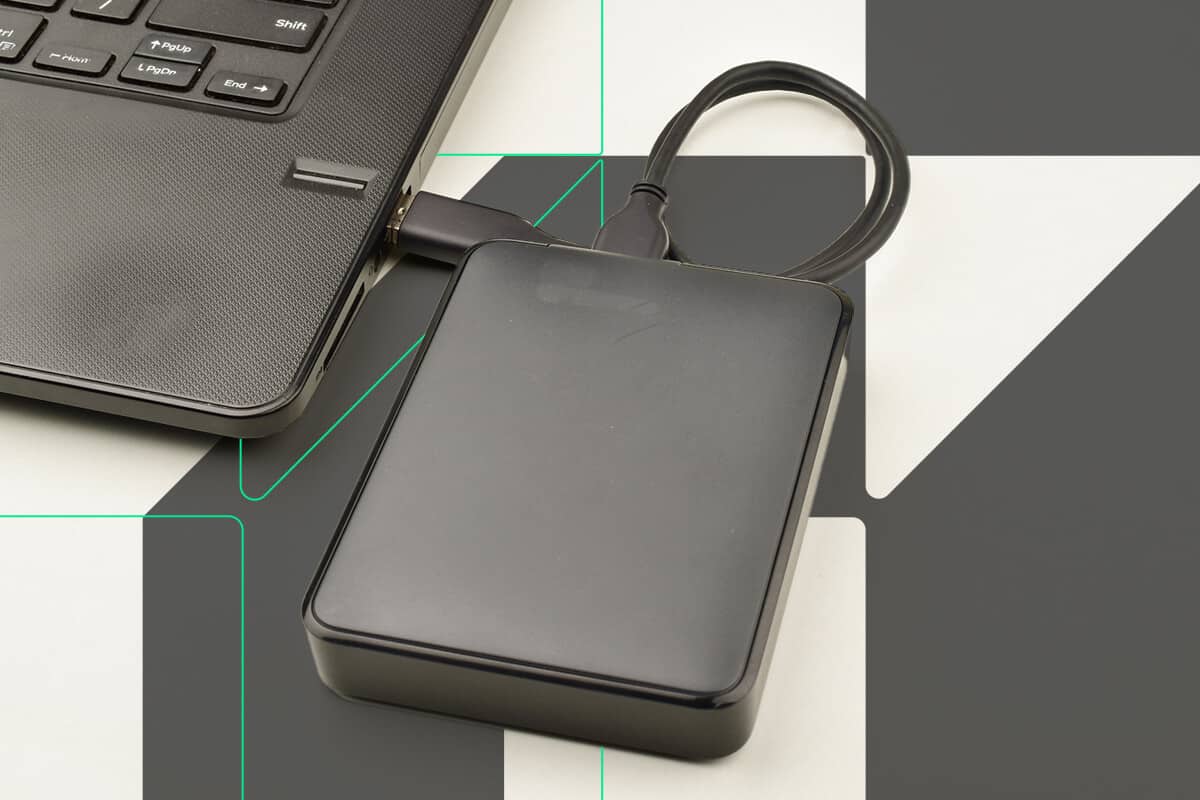
An external storage drive can also help you save your documents and projects later.
Doing a Factory Reset
Here are the steps to complete your factory reset.
Step 1: Go Through Your Files
Make sure you back up all of the files you want to keep. You don’t want to do a factory reset and realize your thesis is gone.
Step 2: Go to the Restart Screen (But Don’t Restart)
To get to where you can factory reset your Chromebook, you’ll first need to get to the restart screen. For this, you’ll need to hold down Ctrl + Alt + Shift + r and then click on “Restart.”
Step 3: “Powerwash”
Once you’ve told it to restart, your Chromebook will have a box that gives you the option of
Doing a “powerwash.” That’s what Google calls its factory reset. Select that option and “Continue.” This will begin the reset.
Step 4: Set it Up
Once the computer has finished its reset, it will appear like you just got it. You can either set it up with your account and begin the process of adding your files back or leave it for the next person using it.
Resetting Your Chromebook
Doing a factory reset on any device is scary, but Chromebook’s process is pretty simple to follow if that need arises.
Performing the reset will allow your computer to return to its original state, making it fresh for you or ready for someone else to use.
Recent Stories
Follow Us On
Get the latest tech stories and news in seconds!
Sign up for our newsletter below to receive updates about technology trends


