You plug in your iPhone, expect to see the battery icon light up — and nothing happens. No charging symbol, no vibration, no increase in battery percentage. It’s a frustrating moment, but in most cases, the fix is simpler than you think.
If your iPhone is plugged in but not charging, charging slowly or stuck at a certain percentage, this step-by-step guide will help you identify and fix the problem quickly.
Charging issues are often caused by minor hardware problems, software glitches or accessory failures — not a completely dead battery or major internal damage. By following a few structured troubleshooting steps, you can quickly identify whether the issue lies with the cable, power source, charging port, software or the device itself. While button combinations may vary slightly by iPhone model, the overall diagnostic process is the same across devices.
Before starting, you’ll need a few things for this troubleshooting process. First, get the malfunctioning iPhone and a couple of different chargers, including cables and power blocks. If the phone has wireless charging capabilities, get a wireless charger, as well. You may also need a new, unused toothbrush and access to a Mac or Windows computer to perform a system restore if necessary.
With the right tools and approach, most iPhone charging problems can be resolved in minutes.
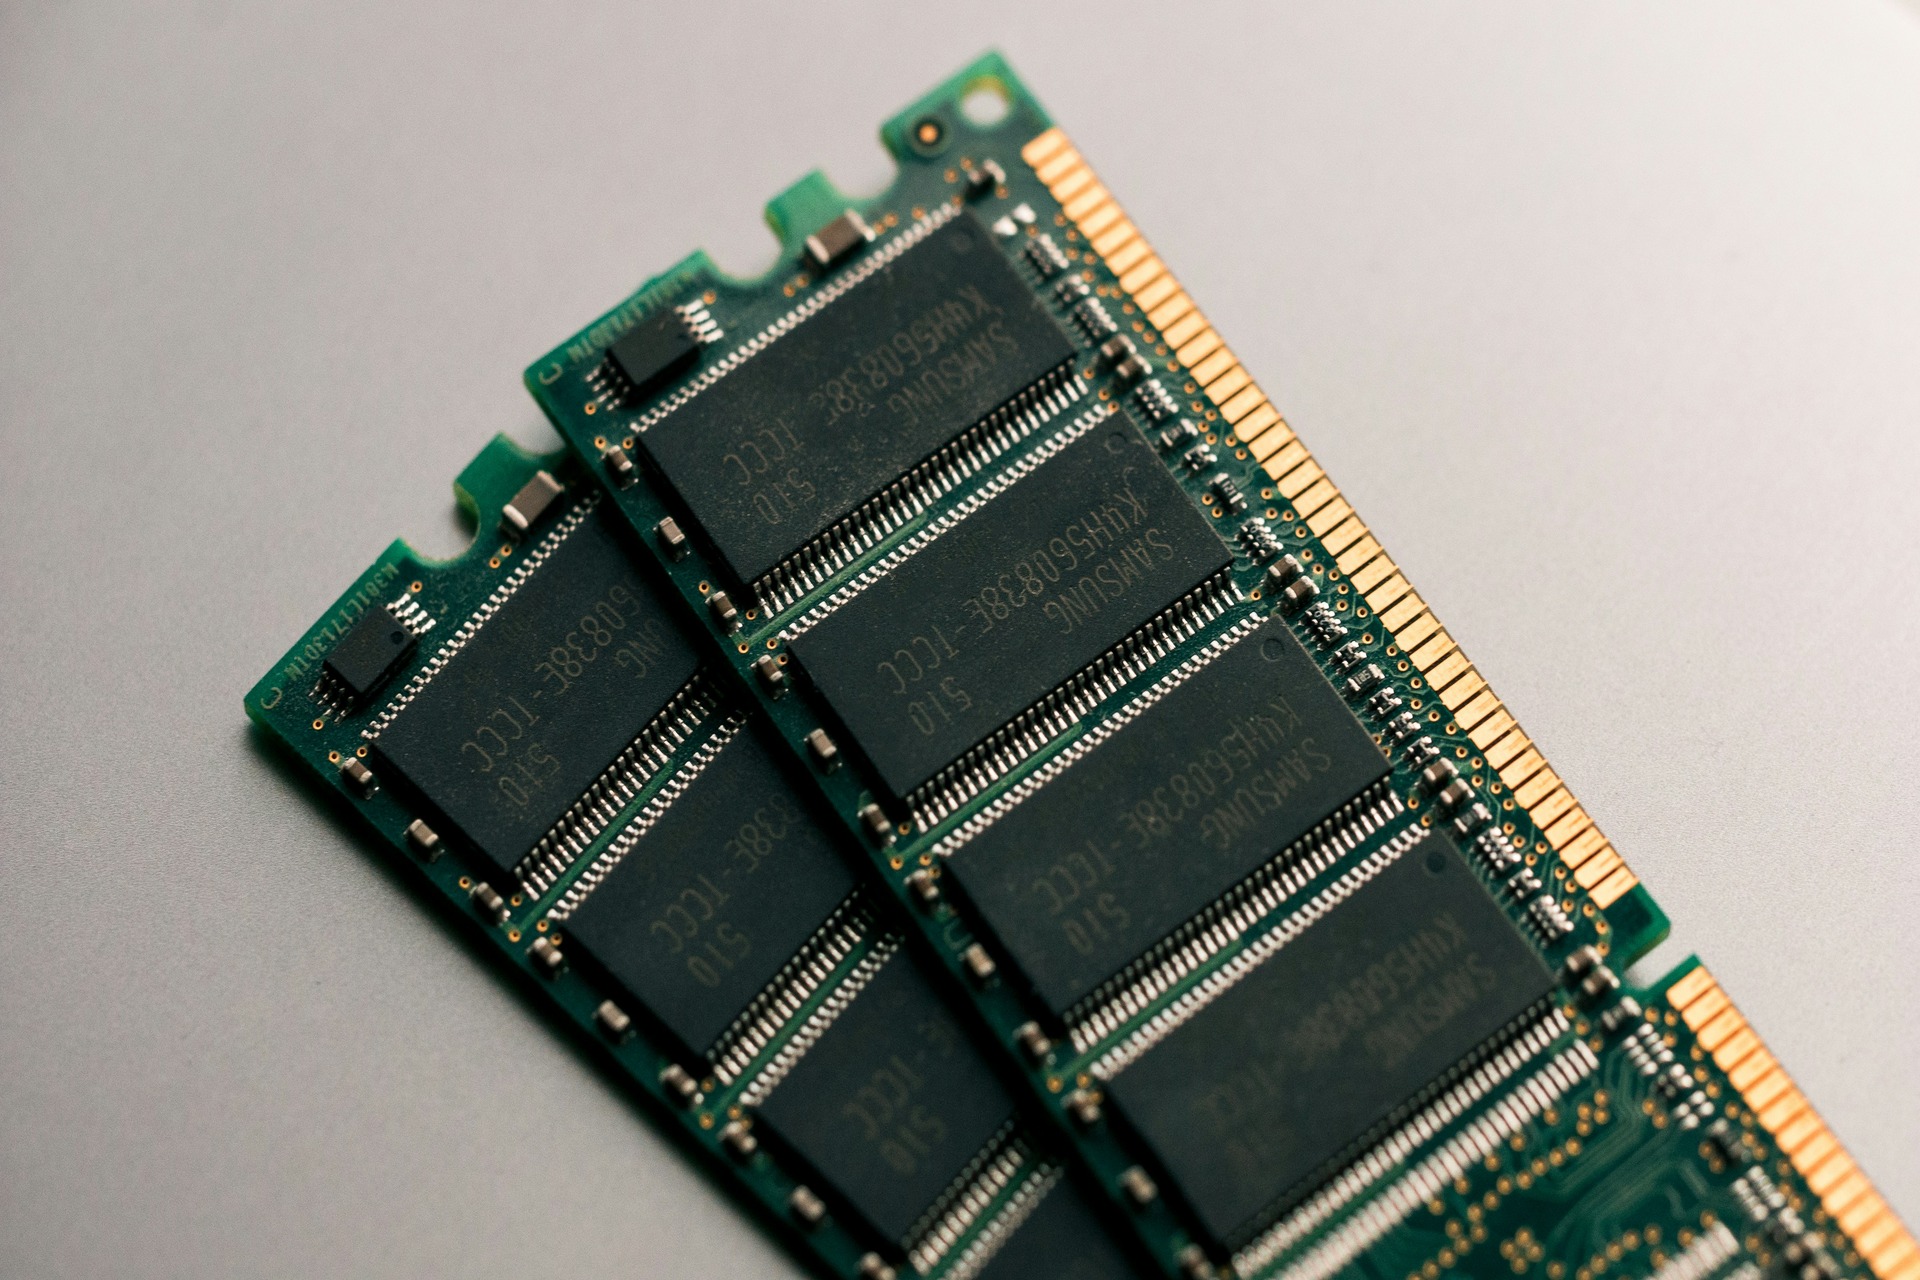
One of the most common reasons an iPhone won’t charge is a faulty charger or power source. Charging cables and adapters undergo daily wear. Over time, the internal wiring can weaken or break, even with Apple-branded accessories. Frequent bending, tightly wrapping the cable or pulling it out by the cord instead of the connector can all shorten its lifespan.
Start by isolating the problem. Try a different cable with the same power adapter. Then try a different power adapter with the same cable. If you have access to another compatible charger, test that as well. If you usually charge wirelessly, switch to a wired connection, or vice versa, to see if the issue is specific to one method.
Sometimes a charger is defective right out of the box due to manufacturing issues. This is more common with inexpensive third-party accessories. Apple recommends using either its official chargers or accessories certified under its Made for iPhone (MFi) program. MFi-certified products meet Apple’s safety and compatibility standards, though certification does not necessarily guarantee long-term durability. Choosing reputable brands can reduce the risk of charging inconsistencies or damage.
Damage isn’t always obvious at first glance. Carefully inspect the entire length of the cable, especially near the connector that plugs into the phone. This area experiences the most stress and is where fraying occurs most often. Look for cracked rubber insulation, exposed wiring, bent connectors or looseness at the tip.
A damaged cable is more than an inconvenience. It can cause intermittent charging, overheating, short circuits or even pose a fire risk. If you notice visible wear, replace the cable immediately rather than continuing to use it.
If the charger appears to be in good condition, the issue may lie with the power source. Plug the adapter into a completely different wall outlet, not just another port on the same outlet. In offices or public spaces, outlets can fail or provide inconsistent power.
If you normally charge through a laptop or desktop USB port, try switching to a wall outlet with a proper power adapter. Older USB-A ports or low-powered computer ports may not provide enough wattage to reliably charge an iPhone, especially under heavy use. USB hubs, extension cords and power strips can also interfere with stable charging, so test directly from a wall outlet whenever possible.
On newer versions of iOS (2025 and later), your iPhone may display a “Slow Charger” warning if the connected power adapter does not provide sufficient wattage. This does not mean the charger is broken — only that it cannot deliver optimal charging speed. Switching to a higher-wattage USB-C power adapter typically resolves this message.
After testing multiple cables, adapters and outlets, if your iPhone still won’t charge, the issue is likely related to the device itself rather than the external accessories.
Once you’ve ruled out the cable and power source, inspect the iPhone’s charging port for debris or signs of moisture. Dust, lint and pocket debris commonly build up inside the port and prevent the cable from seating properly. Even a small amount of compacted lint can block the internal connectors and stop charging entirely.
Newer models — beginning with the iPhone 15 lineup — use USB-C, while older models use Lightning. Regardless of port type, debris buildup is one of the most frequent causes of charging failure.
A strong indicator that the port may be the issue is if wireless charging works but wired charging does not. Wireless charging has been supported since the iPhone 8, so if your phone charges on a Qi or MagSafe pad but not with a cable, the port likely needs cleaning or service.
Here’s how to clean it safely:
Avoid:
If the cable still feels loose or the device does not charge after cleaning, the port may be physically damaged and require professional repair.
If the hardware checks out, the issue may be software-related. Although rare, iOS can freeze or crash in a way that interferes with charging detection. A force restart shuts down the device at the system level and reloads iOS without erasing data. This is different from simply turning the phone off and on. A force restart is especially helpful if:
Here’s how you can force restart your iPhone.
| Model | Method |
| iPhone 8 or later, including USB-C models | Quickly press and release Volume Up. Next, quickly press and release Volume Down. Lastly, press and hold the Side button and wait for the Apple logo to appear. |
| iPhone 7 and 7 Plus | Press and hold the Volume Down and Side buttons together until the Apple logo emerges. |
| For iPhone 6s, 6 or first-generation SE | Press and hold the Home and Sleep/Wake buttons until you see the Apple logo. |
Once restarted, reconnect the charger and check for normal charging behavior. If the problem persists after confirming the charger, cable, outlet and port are working, a system restore may be necessary.
If software corruption is preventing charging, restoring the device may resolve the issue. There are two levels:
Before proceeding, back up your data if possible.
Apple recommends backing up using iCloud whenever possible. If the device still powers on, go to Settings > [Your Name] > iCloud > iCloud Backup > Back Up Now.
If the device cannot boot normally, you may be able to back up using a Mac (Finder) or Windows PC (Apple Devices app or iTunes). However, if no backup is possible and the phone won’t power on, visiting an Apple Authorized Service Provider may be the safest option.
If your iPhone still powers on and responds normally, you can perform a factory reset directly from the Settings app. This process erases all data, apps and personal settings, then reinstalls a clean version of iOS. It can resolve deeper software issues that may be interfering with charging. Before proceeding, make sure your data is backed up to iCloud or a computer.
To reset the device, go to Settings > General > Transfer or Reset iPhone > Erase All Content and Settings.
The iPhone will restart and begin the reset process, which may take several minutes. Once complete, you can set it up as new or restore from a backup. If charging issues persist even after a full reset, the problem is likely hardware-related rather than software.
If your iPhone won’t charge and basic troubleshooting hasn’t worked, restoring it through a computer using Recovery Mode may resolve deeper software corruption. This process erases the device and reinstalls the latest compatible version of iOS, which can fix system-level issues affecting charging.
To begin, connect your iPhone to a Mac or Windows PC using a reliable charging cable. On a Mac running macOS Catalina or later, open Finder. On Windows, open the Apple Devices app or iTunes. Once connected, force restart the iPhone, and continue holding the final button until the Recovery Mode screen appears (a cable pointing to a computer icon).
When the device appears on your computer, you’ll see the option to Update or Restore. Choose Restore. This will:
The process may take several minutes, and the iPhone may restart multiple times. Keep it connected until the restore is fully complete. If charging still does not work after a successful restore, the issue is likely hardware-related and may require professional service.
If none of the above steps restore charging, professional diagnostics are recommended. A technician can check for:
Battery health can also be checked under Settings > Battery > Battery Health & Charging. If the battery’s maximum capacity is significantly reduced, replacement may be necessary. Apple or an authorized service provider can determine whether the issue is covered under warranty or AppleCare.
While charging issues can feel urgent, most are caused by minor issues with accessories or software, not catastrophic device failure. To reduce future charging issues:
Modern iPhones also include Optimized Battery Charging, which may delay charging above 80% to preserve battery health. This is normal behavior and not a malfunction.
The most frequent causes include:
Most issues are accessory- or environment-related rather than internal hardware failure.
Start with quick checks:
If charging still fails, a restore or professional service may be required.
Even if the charger works with another device, the issue may be:
If wireless charging works but wired doesn’t, the port is likely the issue.
To safely clean your iPhone’s charging port, first power off the device. Use a dry, soft-bristled brush, such as a clean toothbrush or anti-static brush, to gently loosen and remove dust or pocket lint inside the port. Avoid using liquids, compressed air, or metal objects, as these can damage the internal connectors.
Shine a light into the port to check for debris, but do not insert sharp tools. Once cleared, reconnect the charging cable firmly and test again. If the phone still won’t charge, the port may be damaged and require professional service.
This can happen due to:
You can check battery health under Settings > Battery > Battery Health & Charging.
If wireless charging is not working, the issue is usually related to alignment, accessories, power supply or temperature. iPhones starting with the iPhone 8 support Qi wireless charging, and newer models also support MagSafe.
The phone must be properly centered on the charging pad, and thick cases, metal plates, magnetic wallets or pop sockets can block charging. Wireless chargers also require a sufficiently powerful wall adapter, so using a low-wattage power brick may prevent charging.
Additionally, if the iPhone becomes too warm, iOS may temporarily pause charging to protect the battery. Trying a different Qi-certified charger and removing the case can help identify the problem.
There are many reasons why an iPhone may not be charging properly. Simple checks can reveal the reason, and quick fixes may offer solutions.
Original Publish Date: 12/10/2021 — Updated 2/27/2026