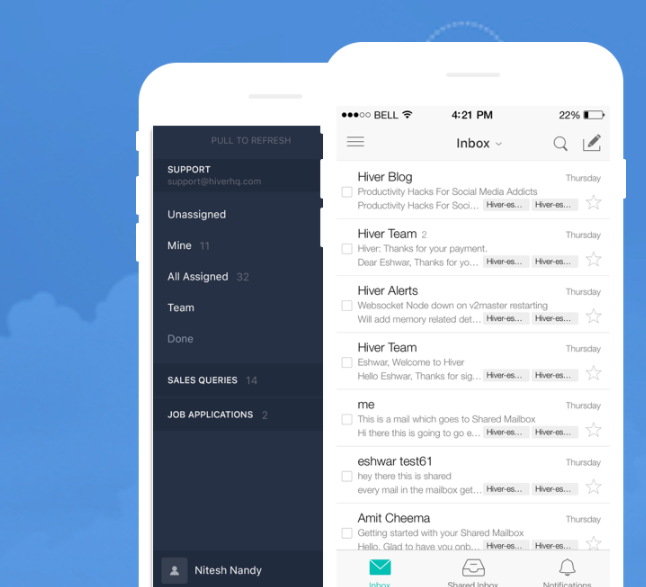
While there are a plethora of popular online inboxes, Gmail remains one of the most prolific.
Not only is it backed by the stellar reputation and brilliant minds of Google, but it features a simple and straightforward interface that is easy to use for startup businesses and established enterprises alike. Things just got a whole lot easier for these users, thanks to an add-on called Hiver, which works inside the Gmail interface.
Exploring Hiver’s Top Features and Benefits
Hiver is packed full of features to help you make the most of Gmail. Some of its primary benefits are as follows.
- Shareability: The app includes support for shared email accounts and shared labeling via Gmail. It automatically syncs information to make it easy to keep track of tasks, leave notes for others and respond to inquiries. Teammates can also share email drafts among themselves for collaboration or quality assurance.
- Automation: Hiver is all about automation. It sends automated “collision alerts” when someone is currently responding to an email, which helps to avoid mixed messages and duplicate communications. The app also provides auto responses whenever a user receives a new email. Other key actions are automated, too, letting users assign various rules or filters to incoming messages or automatically archive old messages.
- Standardization: Instead of copying and pasting default responses from an employee handbook, employees use email templates that are easy to embed and share across the entire team. Hiver also integrates seamlessly with many other apps and utilities.
- Data analytics: Much of quality assurance and customer service revolves around big data and data analytics. Hiver offers deep, invaluable insights into sales inquiries, support team responses and more.
- Activity tracking: An integrated activity timeline provides a comprehensive and verifiable history of all actions take on every email in the system. That makes it easy to keep track of edits, responses and new messages — even if the team isn’t manually tracking this information.
All this functionality is highly useful in today’s digital world, but it doesn’t mean much if IT officials and business leaders don’t know how to deploy it.
How To Use Hiver
The various options and features in Hiver make it intimidating to some users, especially novices. To begin, most system operators and administrators start by setting up a shared mailbox. Not only is this one of the easiest tasks to accomplish, but it’s a necessary step to enjoy many of the other features.
Access the Hiver Admin control panel and navigate to the Shared Mailbox section from the left window.
- Click on the button labeled “+Create a new Shared Mailbox” and enter the shared email address, along with a customized name. This sets it apart from other shared accounts and addresses in the control panel.
- Select the specific type of address — either a Gmail or G Suite account. Administrators can also use a group or alias account via G Suite.
- The final step involves verifying the email account. Administrators will need to log on to the email address provided, through Gmail or G Suite, with the appropriate credentials.
- Once they have verified the email address, administrators can repeat the process to add more, if necessary.
Most of Hiver’s functionality offers a novice-friendly, graphical user interface as a guide. The support team also compiles frequently asked questions and common issues, which are available in their online knowledge base.
Pricing Information
Hiver is available through various pricing plans, including yearly and monthly programs. Their entry-level service, the Plus Plan, is available for $14 per user per month. The Premium and Enterprise Plans are, respectively, $22 and $34 per user per month. To find out more about Hiver, or to request a free, 14-day demo, please visit their official website.
Recent Stories
Follow Us On
Get the latest tech stories and news in seconds!
Sign up for our newsletter below to receive updates about technology trends


